Adding a Let's Encrypt or Buypass free SSL certificate to pfSense
Jan 4, 2019 · CommentspfSense
This will be a quick guide for how to add a free SSL certificate to your pfSense web gui, which will renew automatically. This has been done on pfSense 2.4.4-RELEASE-p1.
Pre-requisites
- Preinstalled pfSense.
Configuring pfsense
First you’ll need to login to pfSense on the normal web gui i.e. ‘https://192.168.99.1’.

Then go to ‘System’ -> ‘Package Manager’ -> ‘Available Packages’.

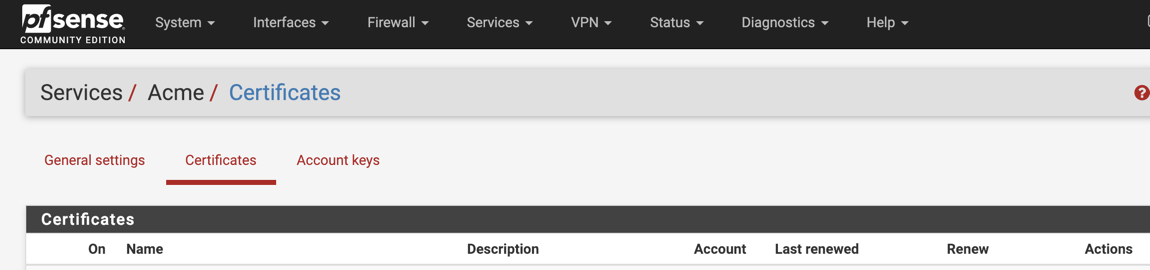
Then press the ‘+Install’ button on the package called ‘acme’. This will take a little while until the package is completely installed. Then go to ‘Services’ -> ‘Acme Certificates’ in the top menu. Then go to ‘Account keys’.
Then press add to create a new account key.
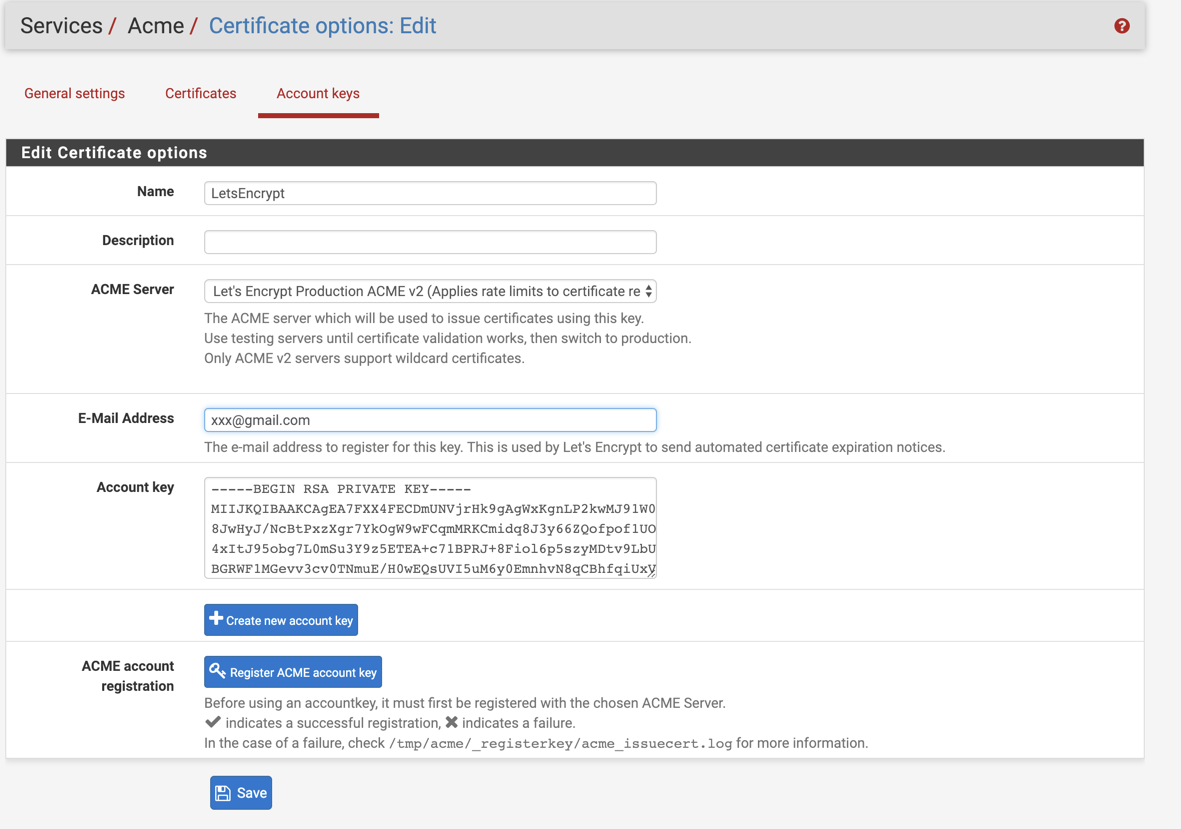
Then you input a name under ‘Name’ which can be anything you’d like to call it. Under ‘ACME Server’ choose ‘Let’s Encrypt Production ACME v2’, or if you want an ‘Buypass Go’ certificate instead, then choose ‘Buypass Production ACME v2’. (NB! Buypass will be added in the acme package version 0.5 and might no be in your version yet)
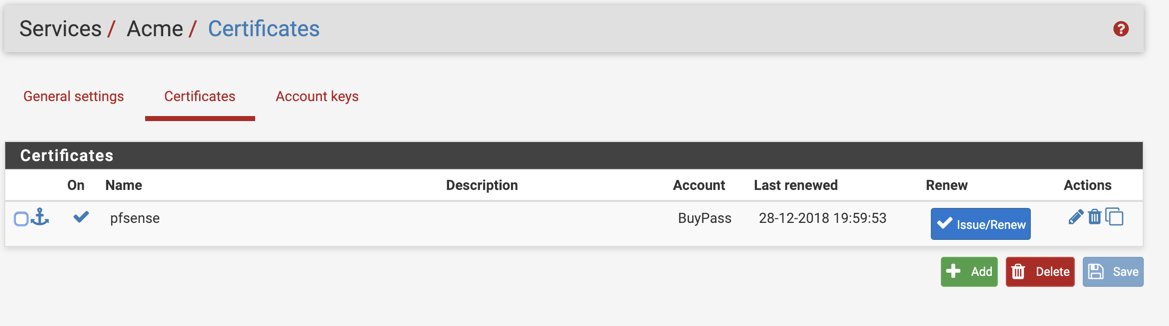
Then press the ‘+Create new account key’ button, and it will generate and present a new key in the ‘Account key’ field. Then press the ‘Register ACME account key’ button. Now a checkmark should appear on the button, and you can press ‘Save’. Now go to ‘Certificates’.
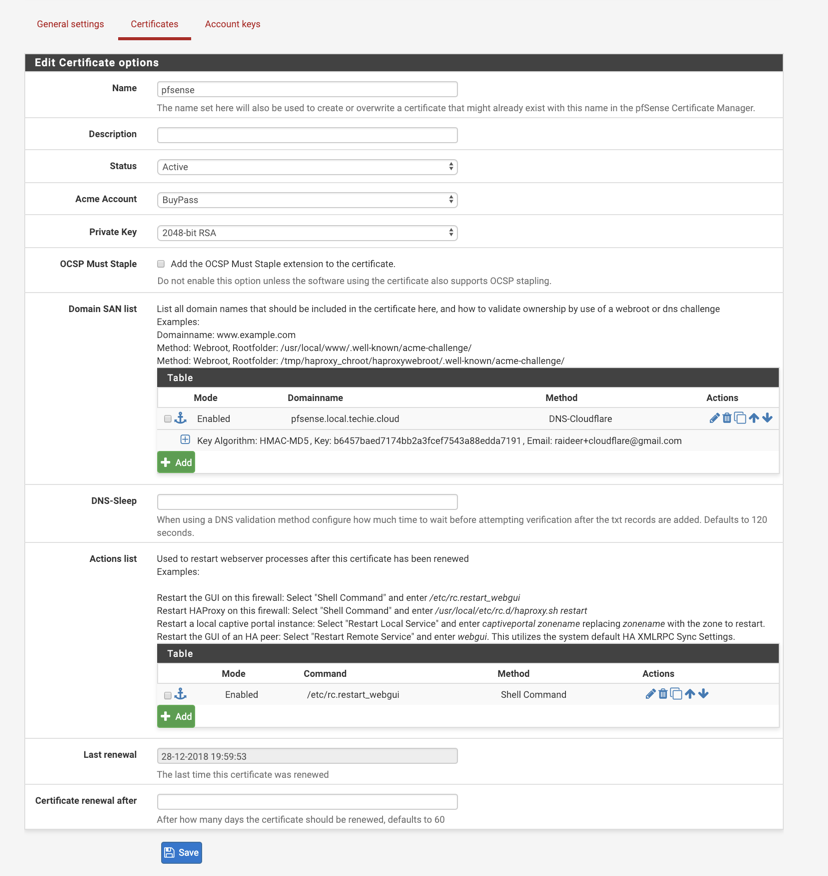
Again you’ll enter a new name for the certificate in the ‘Name’ field. ‘Status’ should be set to ‘Active’. In ‘Acme Account’ choose the name you previously used on the account key.

Then in ‘Domain SAN list’ enter the certificate domain name you want in “Domainname” and choose the method for verification you want in ‘Method’. I currently have this setup to use Cloudflare and the API there. Then you can add ‘/etc/rc.restart_webgui’ with ‘Method’ as ‘Shell Command’ under ‘Actions list’.
Now when you press save it should generate the certificate for you, and you’re all set.