Installing VMware vCenter Server Appliance (VCSA) from MacOS
Dec 28, 2018 · CommentsVMware
This guide shows how to install VMware vCenter Server Appliance (VCSA) from MacOS
Pre-requisites
- Download VMware vCenter Server Appliance (VCSA) iso file from www.vmware.com.
- Evaluate for how many VMs and hosts you need the VCSA for.
- Know the network setup of your ESXi, and available IPs.
- Preinstalled ESXi.
Installing VMware vCenter Server Appliance (VCSA)
First you double-click the downloaded ISO file to mount it. Then open the mounted drive in finder.
 Then you open the folder ‘vcsa-ui-installer’.
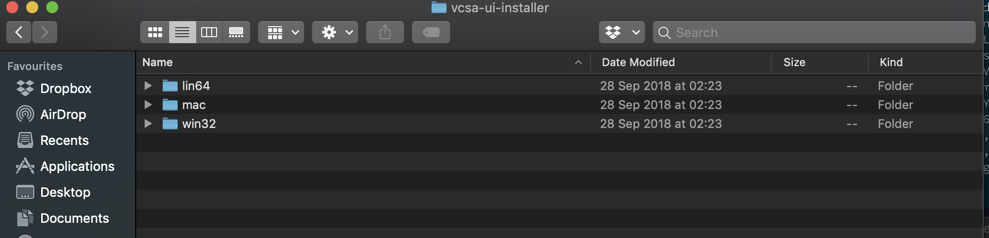 Then you open the folder ‘mac’.
 Then you open the application called ‘Installer’.
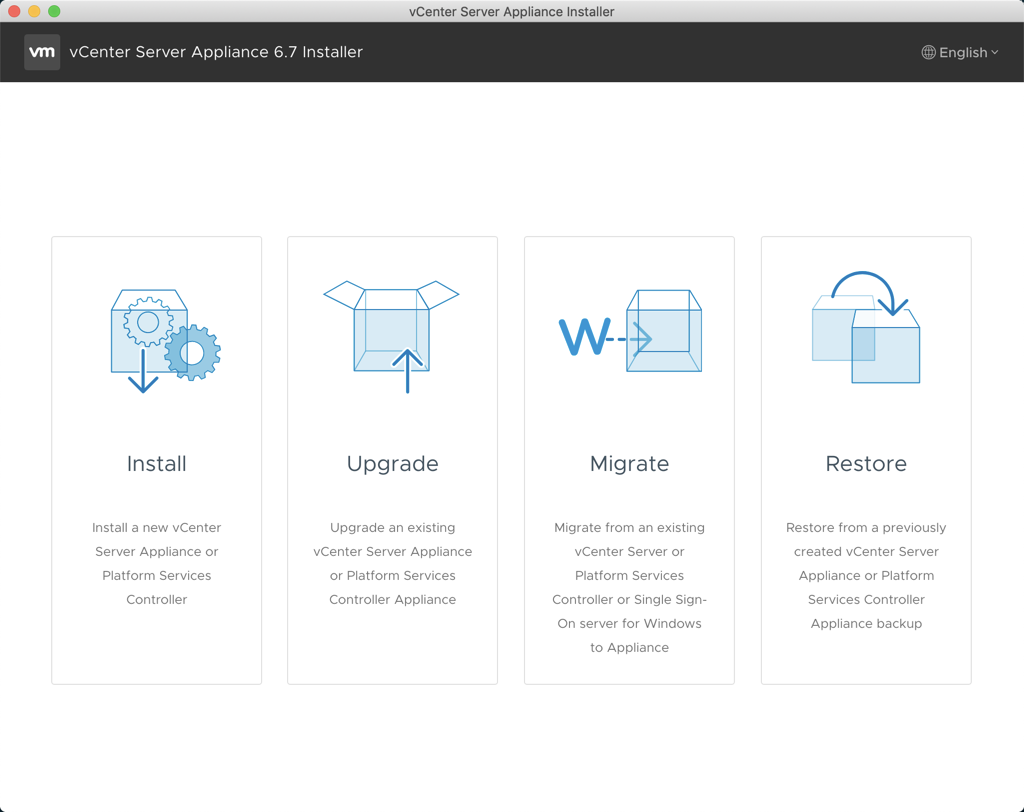 Since we’re installing a new VCSA server you will choose ‘Install’ here.
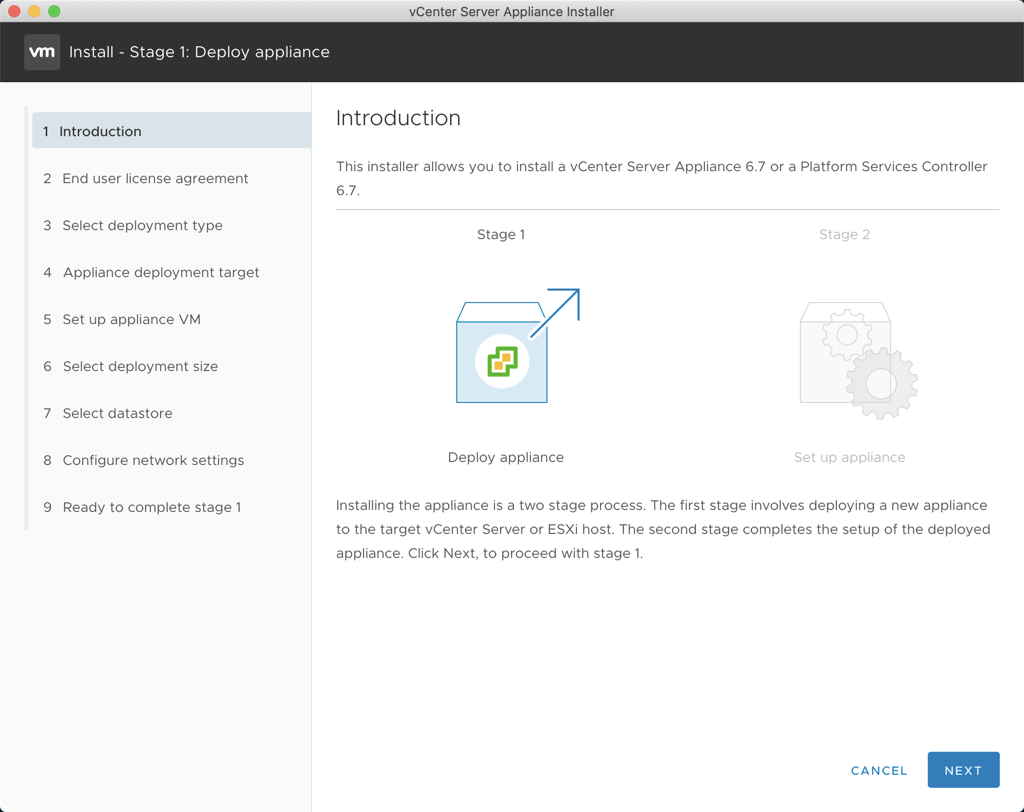 This screen just shows the starting information that the install is two steps, first an install, and then a configuration of VCSA. You can click ‘Next’ here.
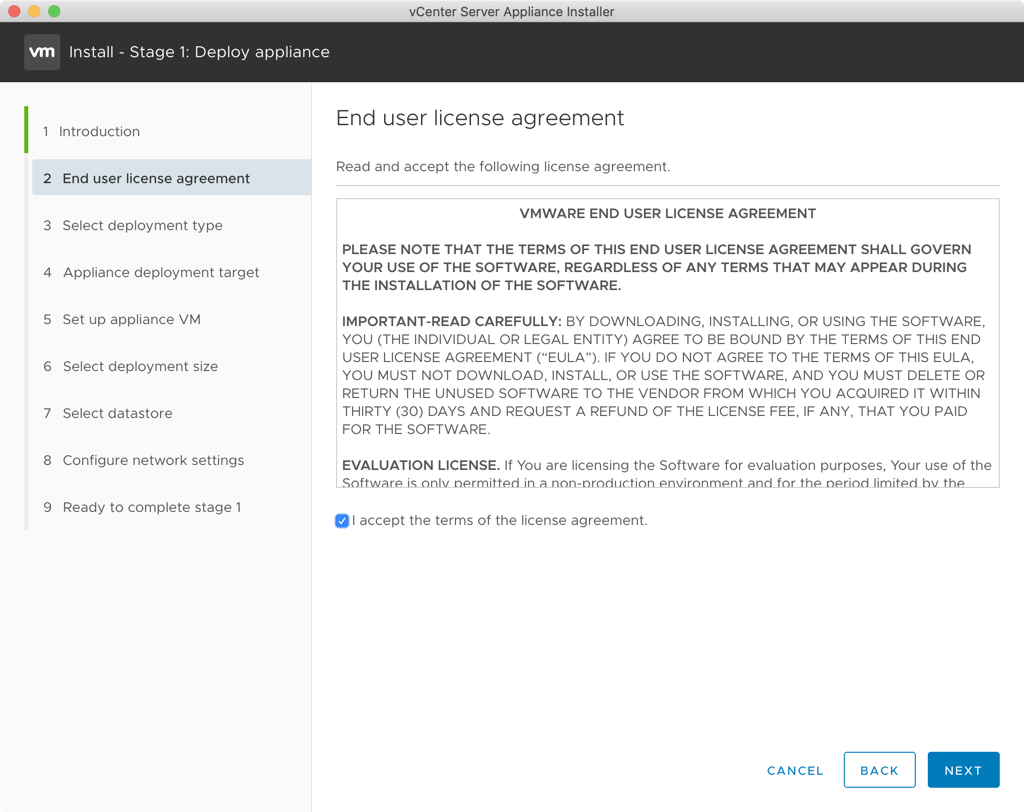 Accept the ‘End user license Agreement’ (EULA) by checking the box, and then click ‘Next’.
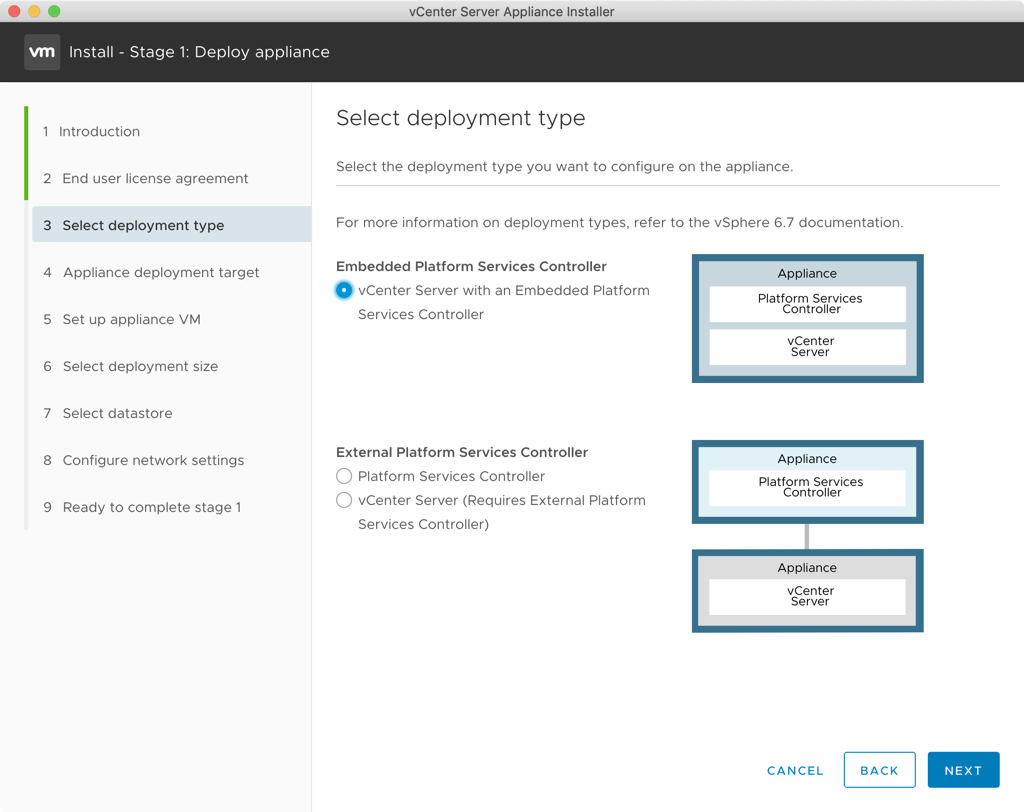 Since I’m doing a small install here, I choose to use the ‘Embedded Platform Services Controller’ and have everything in one VM. Press ‘Next’.
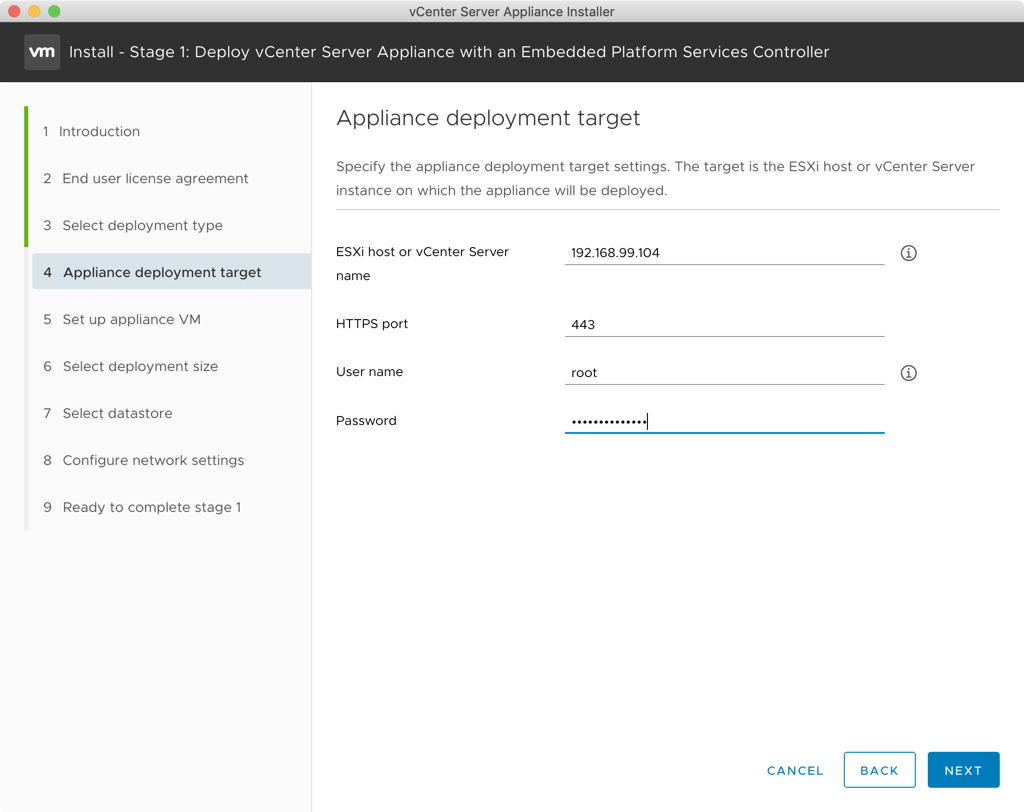 In ‘ESXi host or vCenter Server name’ you enter the IP address of your existing ESXi host.
In ‘HTTPS port’ just let the default value of ‘443’ stand.
In ‘User name’ enter the administrative user of your ESXi host, or let the default value of ‘root’ be if it is correct.
Then enter your administrative user password in the ‘Password’ field, and click ‘Next’.
In ‘ESXi host or vCenter Server name’ you enter the IP address of your existing ESXi host.
In ‘HTTPS port’ just let the default value of ‘443’ stand.
In ‘User name’ enter the administrative user of your ESXi host, or let the default value of ‘root’ be if it is correct.
Then enter your administrative user password in the ‘Password’ field, and click ‘Next’.
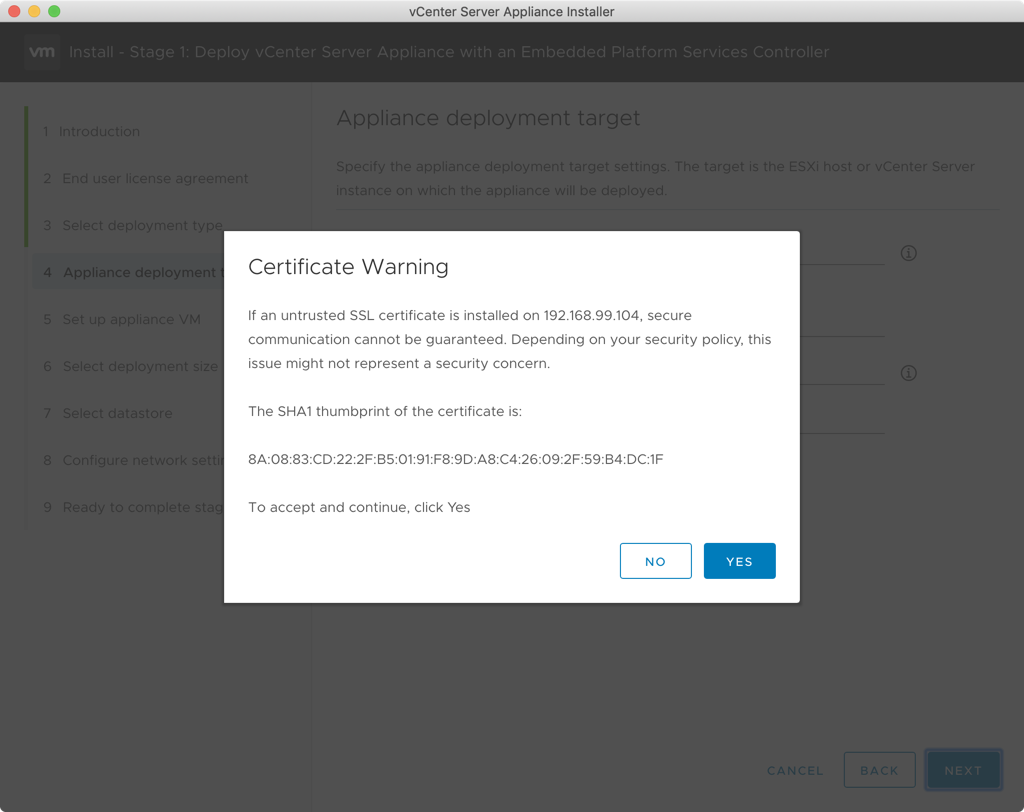 There will then come a popup windows with an ‘Certificate Warning’. This is due to the fact that the certificate on the ESXi is untrusted, so you need to accept this by pressing ‘Yes’.
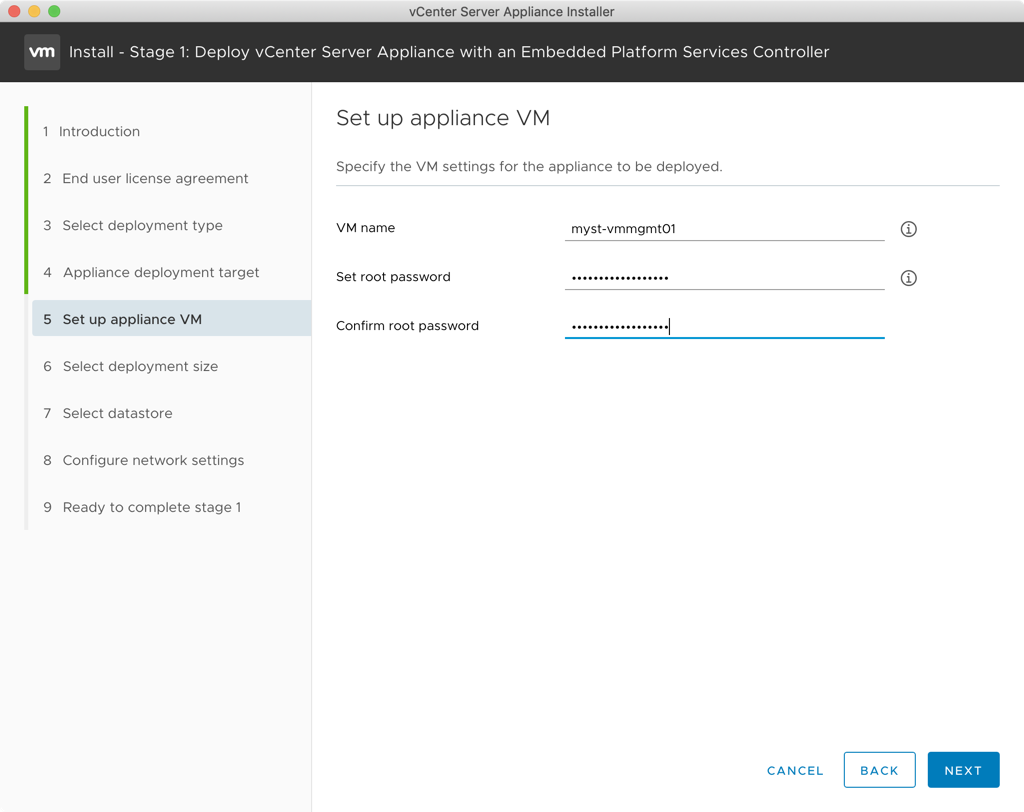 Now you need to enter the name of the VM in ‘VM name’. This is just the name of the VM in ESXi, and not the acutal servername.
Then set a new root password in ‘Set root passowrd’, and enter the same again in ‘Confirm root password’.
Then click ‘Next’.
Now you need to enter the name of the VM in ‘VM name’. This is just the name of the VM in ESXi, and not the acutal servername.
Then set a new root password in ‘Set root passowrd’, and enter the same again in ‘Confirm root password’.
Then click ‘Next’.
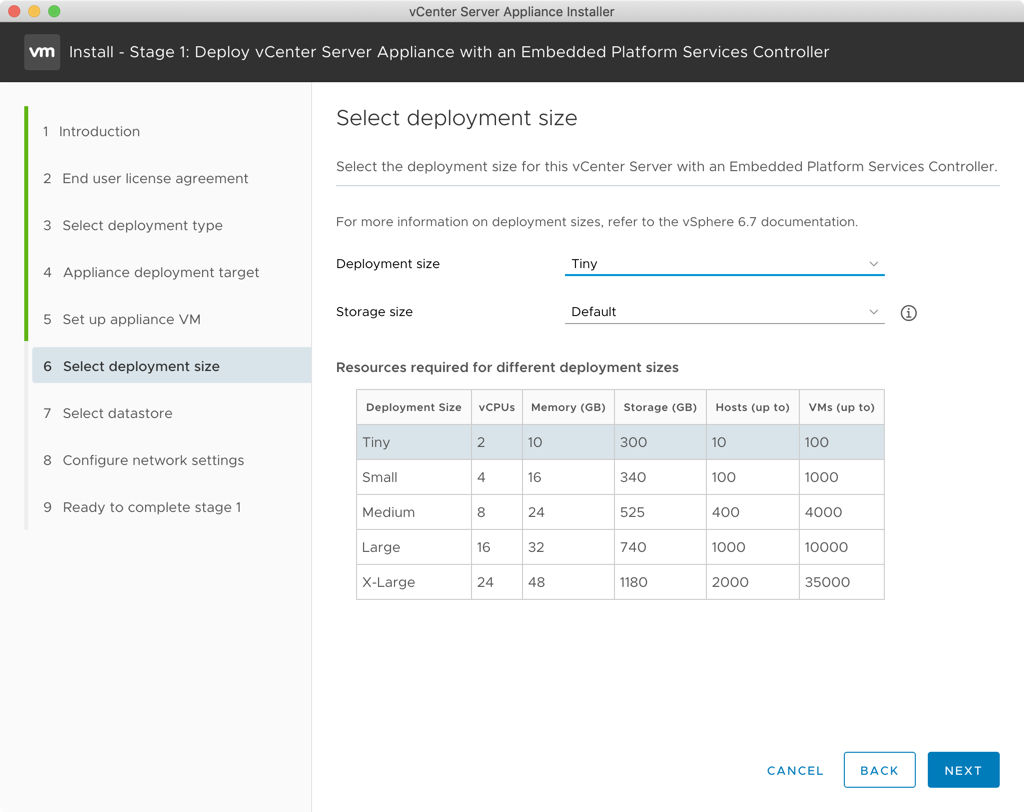 Then you’ll need to choose the correct ‘Deployment size’ for your install. I’m doing this in a home lab, so for meg ‘Tiny’ is the correct choice since I have less then 10 hosts and 100 VMs. I also leave the ‘Storage size’ to the default value. Then click ‘Next’.
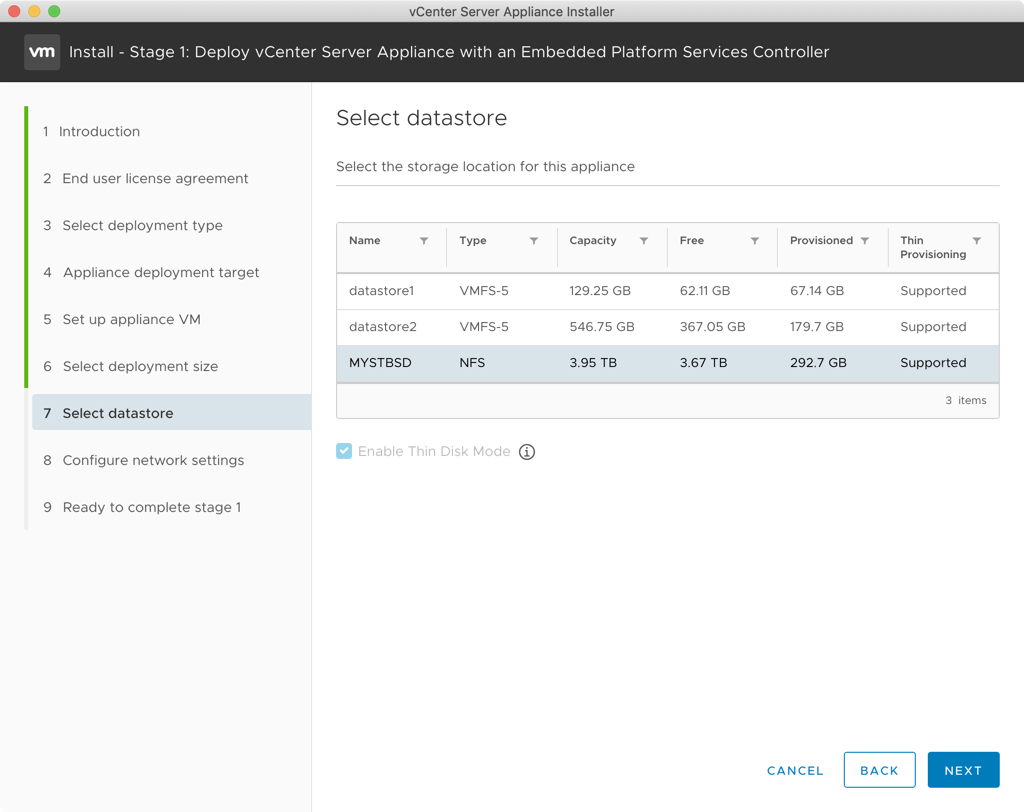 Now you need to choose the datastore of the VCSA VM. My choice here is a NFS share I use as storage for the ESXi. Then click ‘Next’.
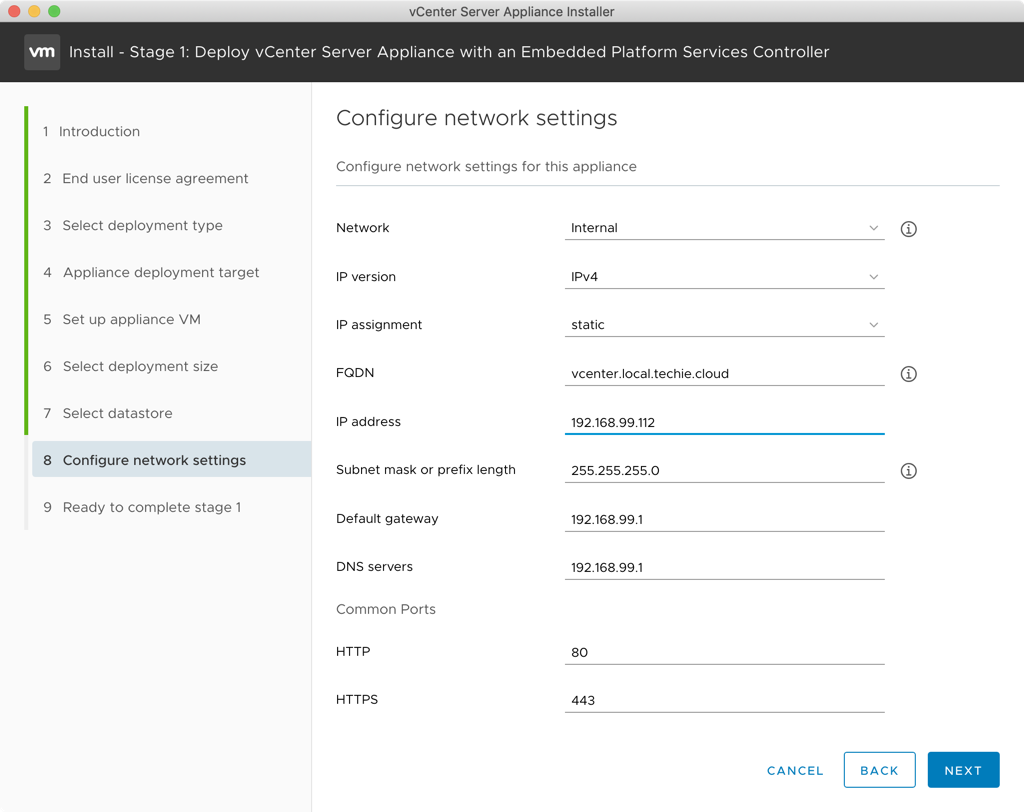 Then you’ll need to configure the network settings for the VCSA.
‘Network’ is the name of the network the interface of the server will be connected to.
‘IP version’ is the choice between ‘IPv4’ and ‘IPv6’.
‘IP assignment’ is either ‘static’ or ‘DHCP’.
Then it’s recommended to enter the full servername in ‘FQDN’ evento it’s optional. If you do not enter an FQDN here, then you can never change the IP of the VCSA later on, and you can also not use a custom SSL certificate.
Then you enter the IP address details in ‘IP address’, ‘Subnet mask of prefix length’, ‘Default gateway’, ‘DNS servers’, ‘HTTP’, and ‘HTTPS’.
You can see what I have entered as an example. After this is filled in, click ‘Next’.
Then you’ll need to configure the network settings for the VCSA.
‘Network’ is the name of the network the interface of the server will be connected to.
‘IP version’ is the choice between ‘IPv4’ and ‘IPv6’.
‘IP assignment’ is either ‘static’ or ‘DHCP’.
Then it’s recommended to enter the full servername in ‘FQDN’ evento it’s optional. If you do not enter an FQDN here, then you can never change the IP of the VCSA later on, and you can also not use a custom SSL certificate.
Then you enter the IP address details in ‘IP address’, ‘Subnet mask of prefix length’, ‘Default gateway’, ‘DNS servers’, ‘HTTP’, and ‘HTTPS’.
You can see what I have entered as an example. After this is filled in, click ‘Next’.
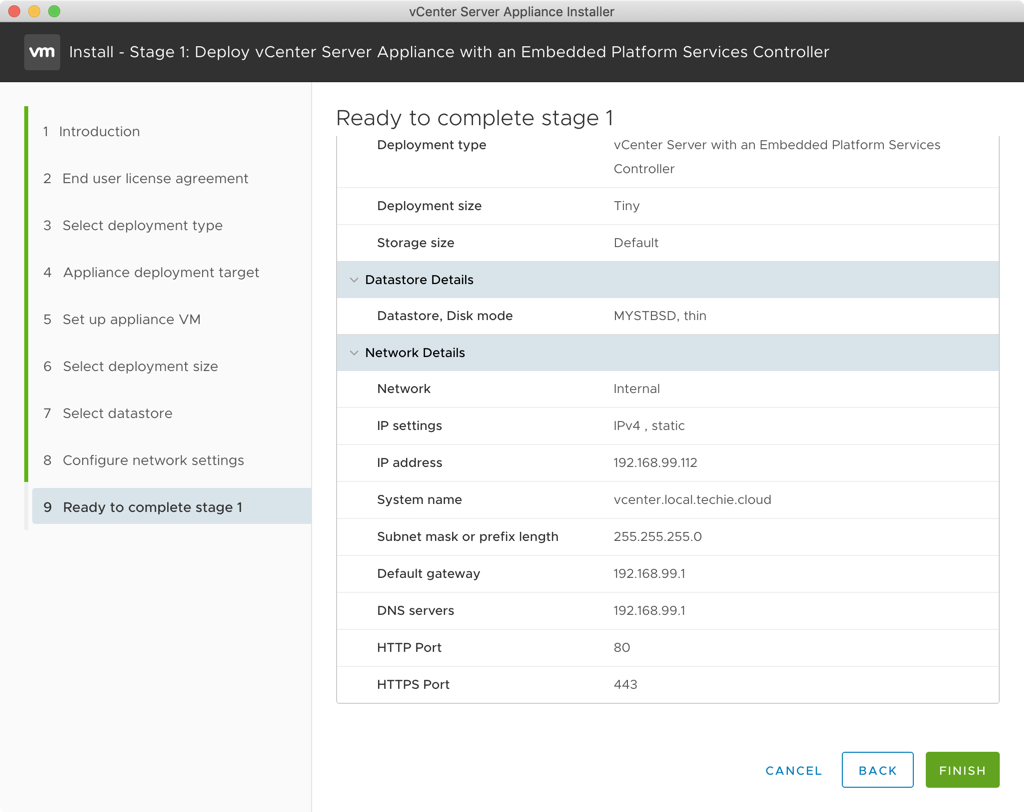 Then you get the information of everything previously entered.
Press ‘Finish’ if everything looks good.
Then you get the information of everything previously entered.
Press ‘Finish’ if everything looks good.
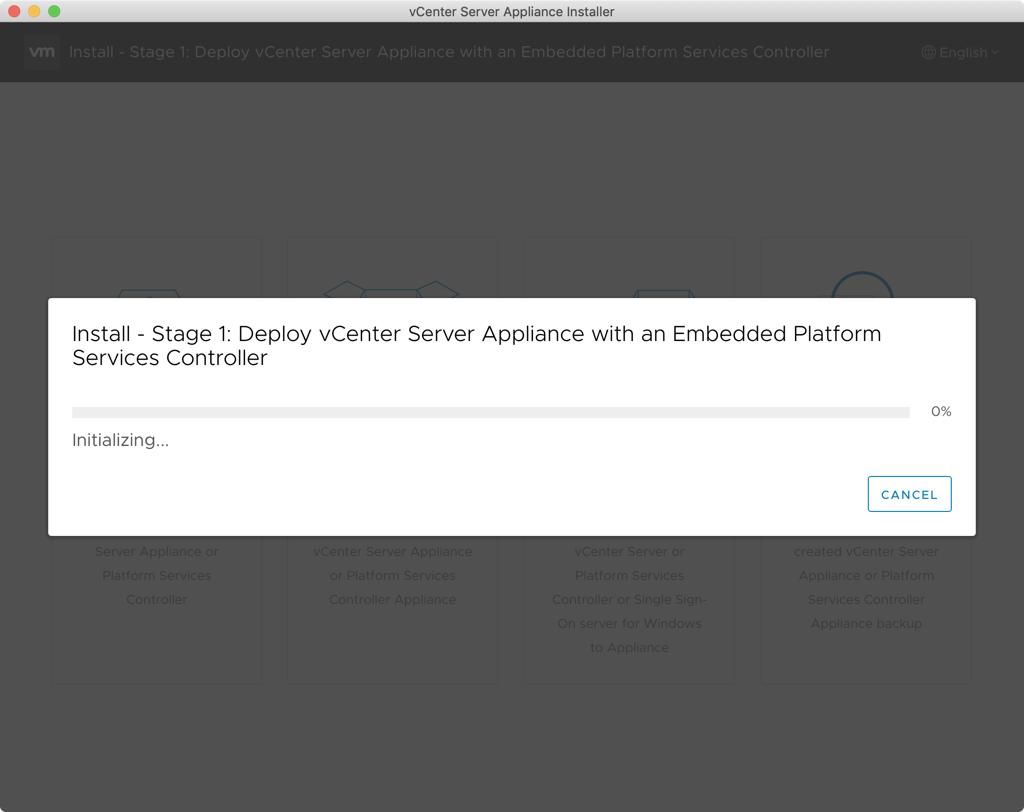 The install will now start, and this will take a few moments to finish.
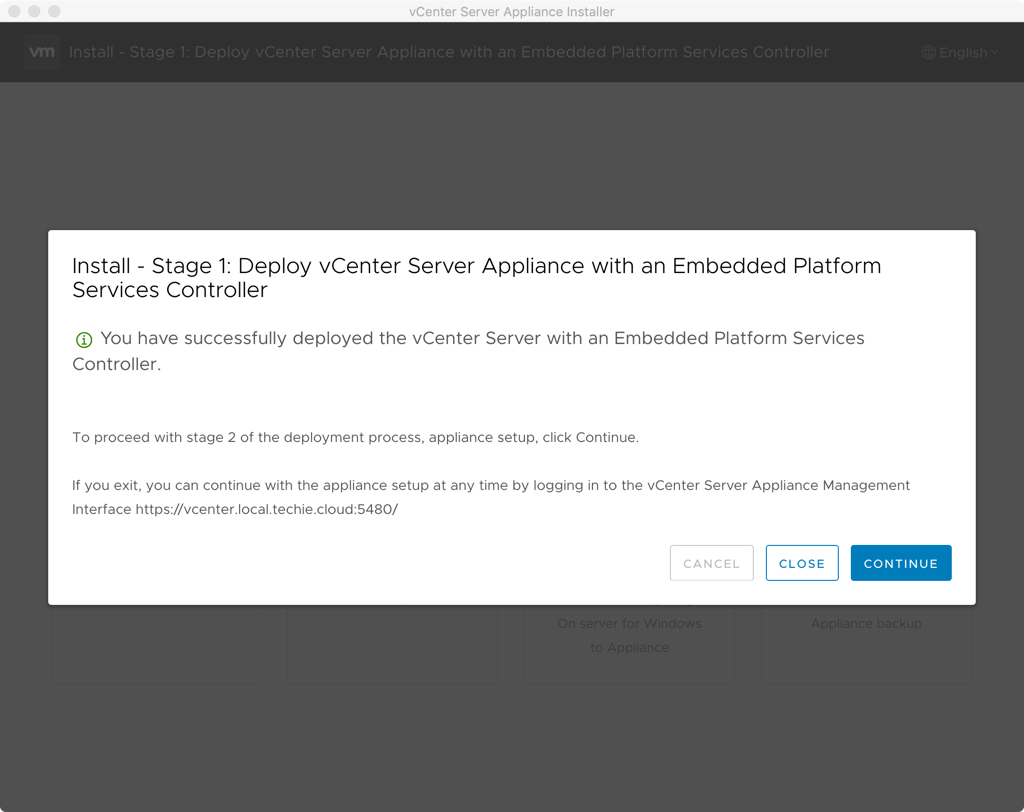 When it’s finished installing, it will request to proceed to ‘Step 2’. Click ‘Continue’.
 This will again just show you information about the step. Click ‘Next’.
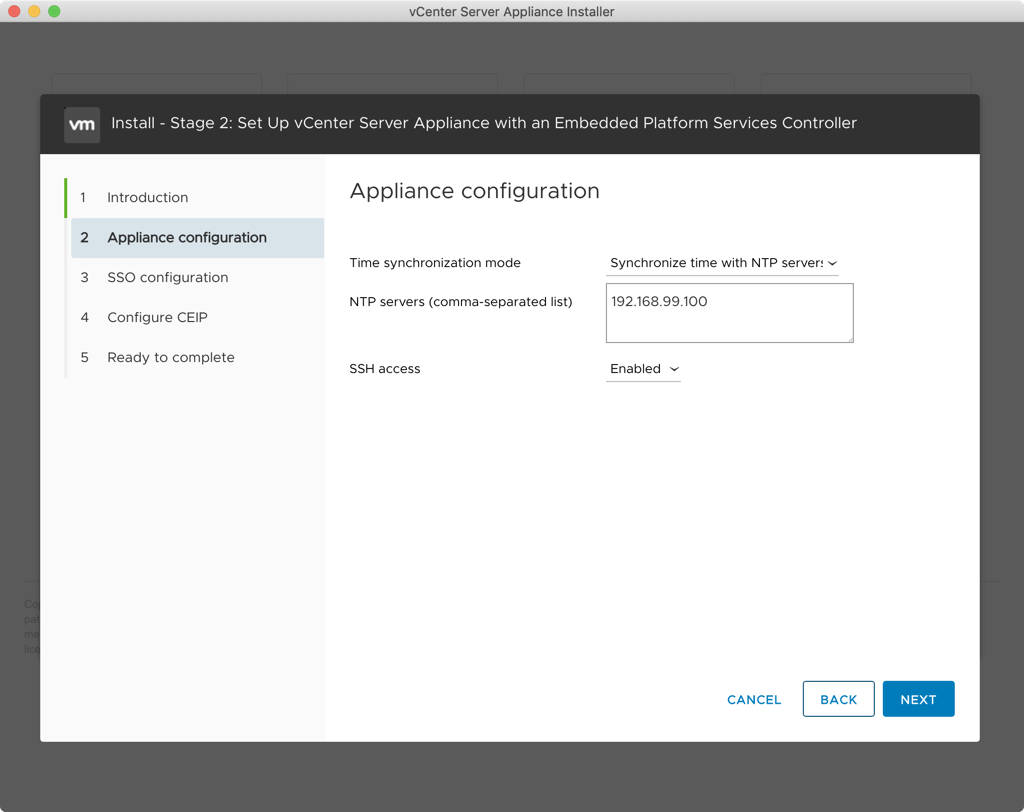 I recommend setting up NTP with a server for synchronization. I currently have my own NTP server setup, but I recommend i.e. to use ‘0.pool.ntp.org’, ‘1.pool.ntp.org’, and ‘2.pool.ntp.org’.
And then I usually enable ‘SSH access’ as I use it later on, but if you do not use it, then you leave this ‘Disabled’.
Click ‘Next’ when done.
I recommend setting up NTP with a server for synchronization. I currently have my own NTP server setup, but I recommend i.e. to use ‘0.pool.ntp.org’, ‘1.pool.ntp.org’, and ‘2.pool.ntp.org’.
And then I usually enable ‘SSH access’ as I use it later on, but if you do not use it, then you leave this ‘Disabled’.
Click ‘Next’ when done.
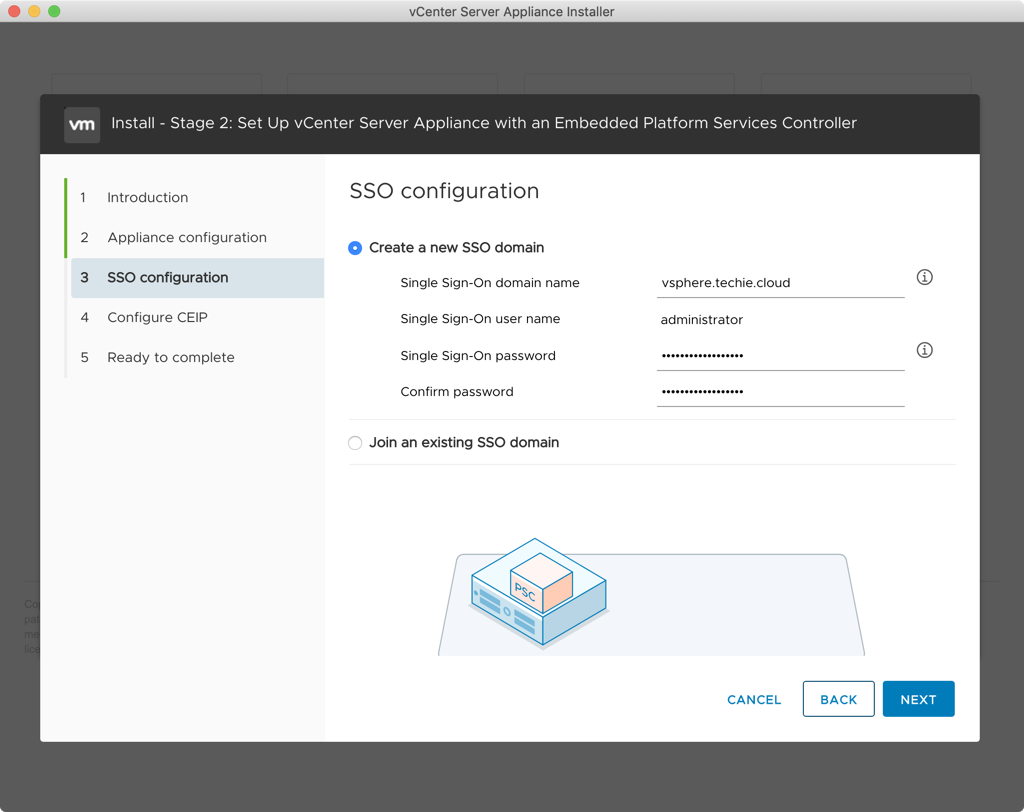 Then you enter information about the SSO domain. Since this is a standalone server in my home lab, I set this up with a new SSO domain.
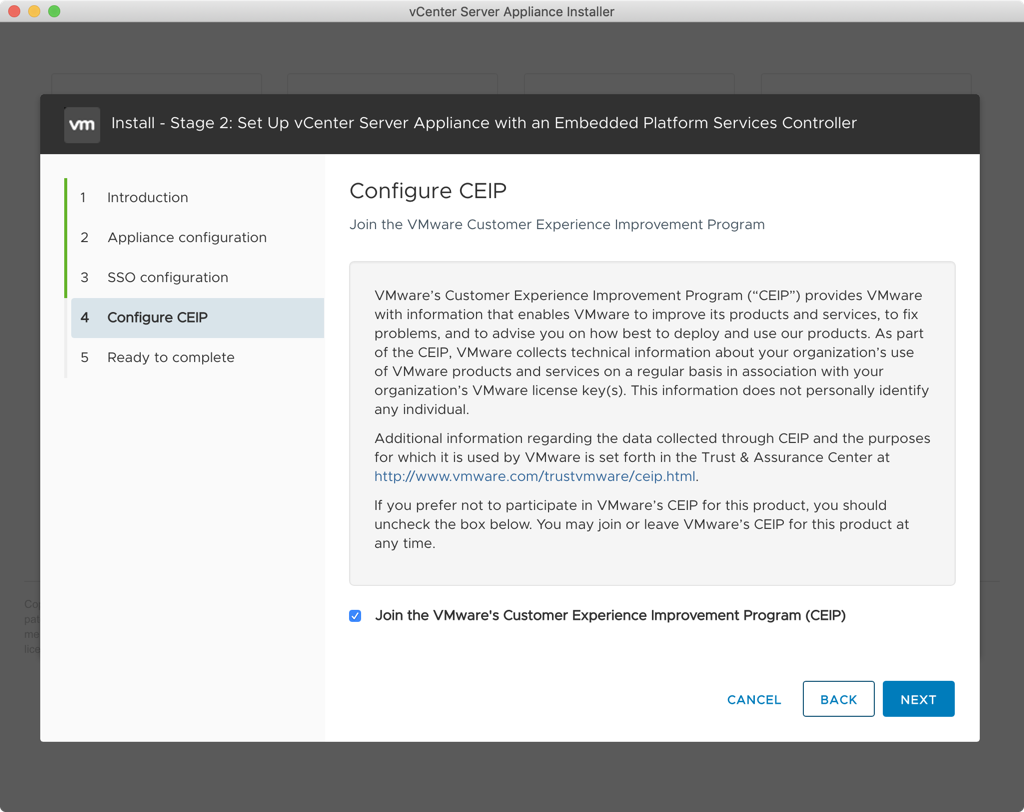 Then join the ‘CEIP’ if you want to by checking the box, and click ‘Next’.
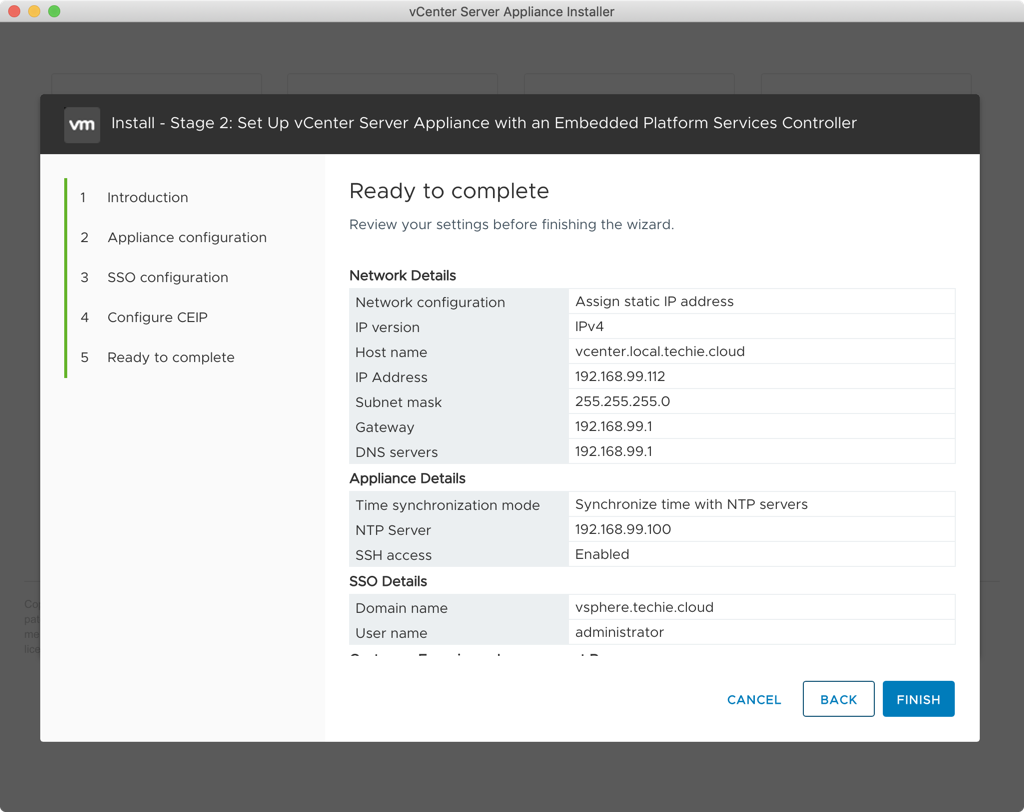 Then you get the information of everything previously entered.
Press ‘Finish’ if everything looks good.
Then you get the information of everything previously entered.
Press ‘Finish’ if everything looks good.
 Then you’ll get a warning that it’s not possible to pause or stop the install once it’s started. Click ‘OK’ here.
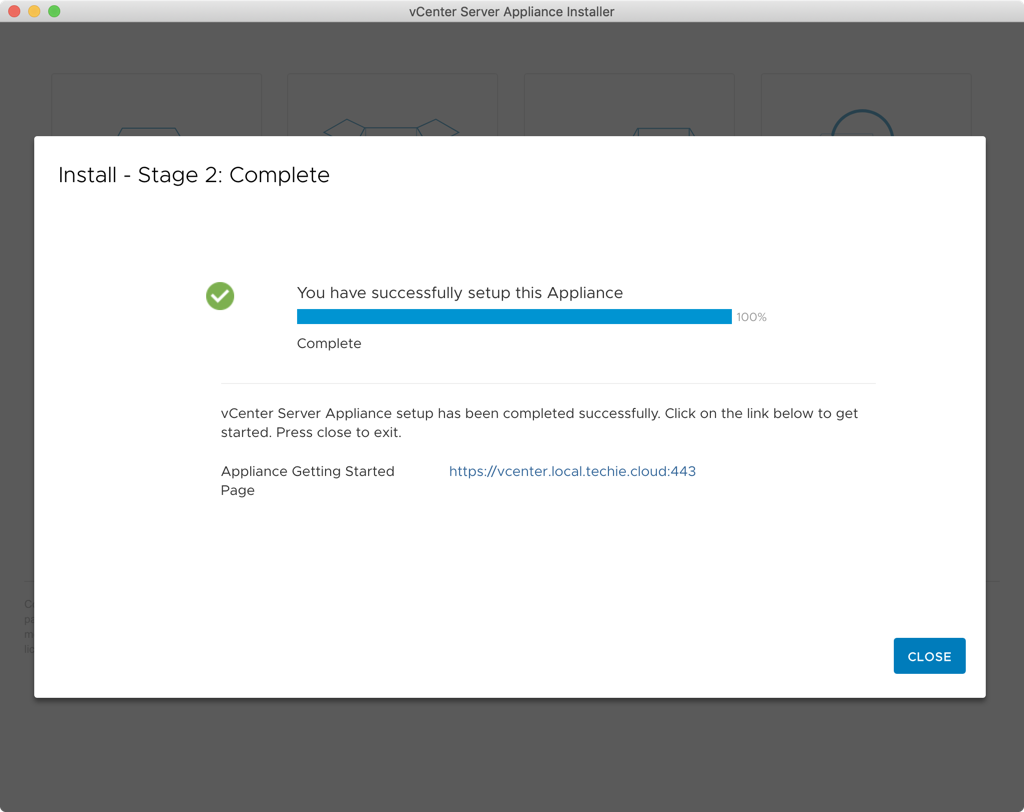 And after a little while the configuration will be finished and the VCSA will be available on the address shown under ‘Appliance Getting Started Page’.