How to run NetScaler VPX 11.0 build 55.20 in Parallels for testing or demo purposes
Jul 8, 2015 · CommentsCitrix ADC
This how to will show you how to install NetScaler VPX in Parallels for testing and/or demo purposes.
Pre-requisites
- Download CentOS minimal install iso from www.centos.org.
- Download NetScaler VPX KVM from www.citrix.com, the one I’ve used here is NetScaler VPX for KVM 11.0 Build 55.20.
- Parallels installed.
- SSH client installed.
- Some kind of X Window system setup on your client (I.e. XQuartz or XMing).
Setting up the virtual machine
Setup new Virtual Machine in Parallels.
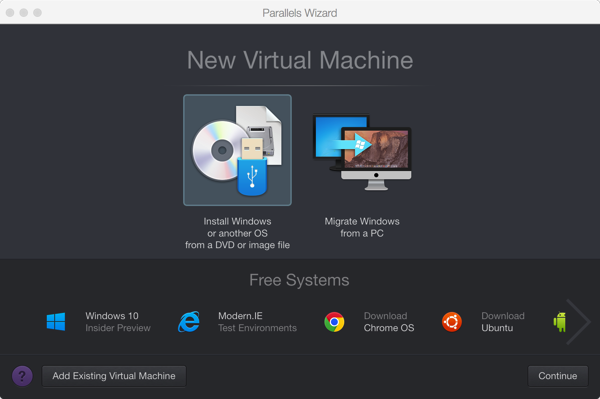
Choose “Install Windows or another OS from a DVD or image file” and press “Continue”.
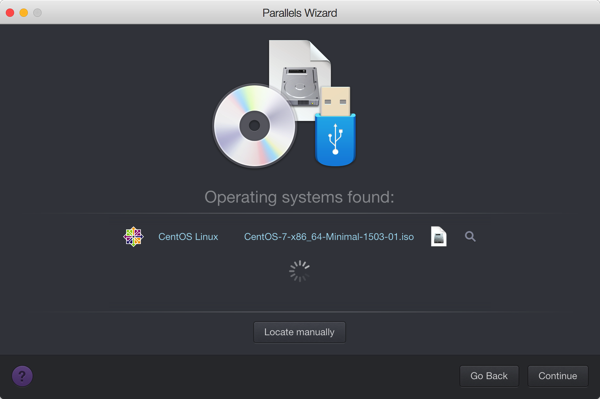
Either locate the previously downloaded iso file or if it’s already listed, just press “Continue”.
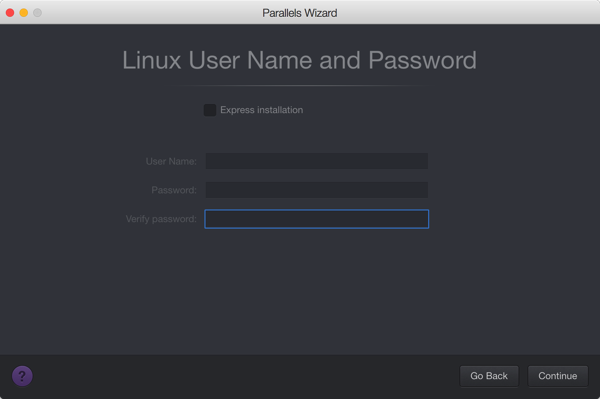
Deselect “Express installation” and press “Continue”.

Enter a name for the virtual machine and choose a location. The select “Customize settings before installation”, and press “Continue”.
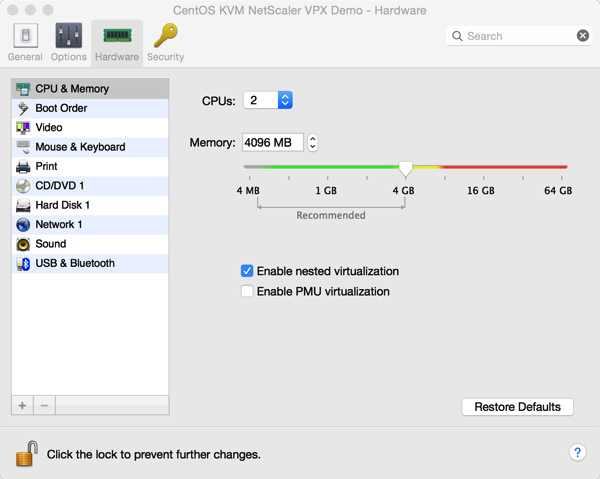
Choose “CPU & Memory” and change “CPUs” to “2” and “Memory” to at least “2048 MB” and select “Enable nested virtualization”.
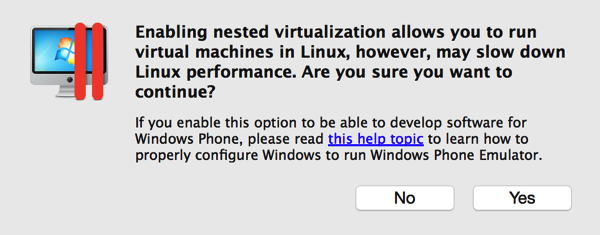
Select “Yes” in the pop-up box and close the settings window.
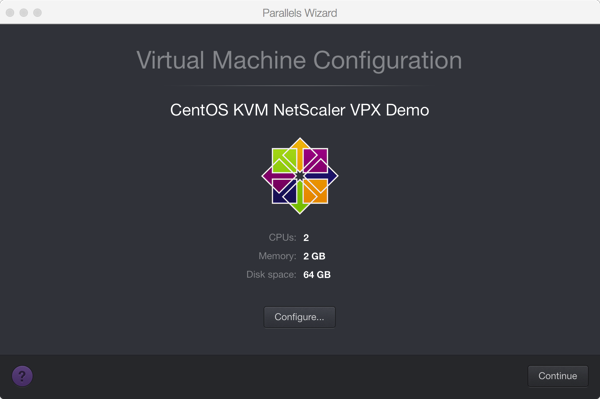
Then press “Continue” on the last page for the virtual machine setup.
Installing CentOS with KVM
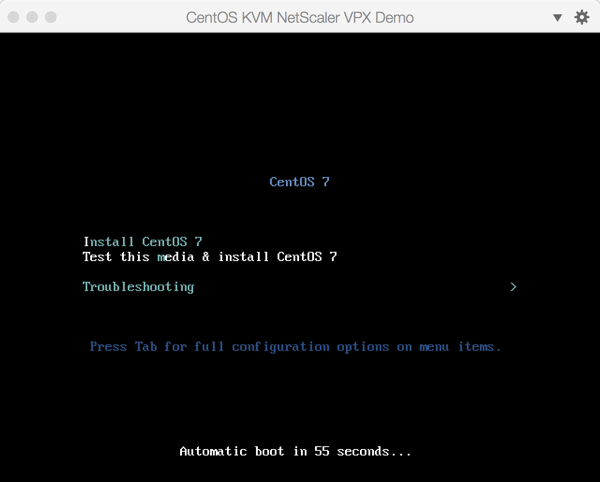
Choose “Install CentOS 7”.
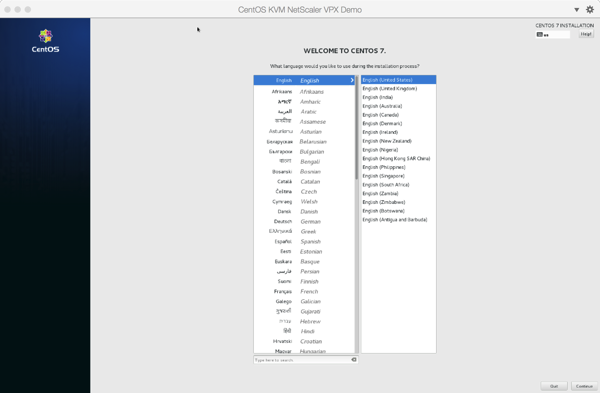
Choose your language of choice and press “Continue”.
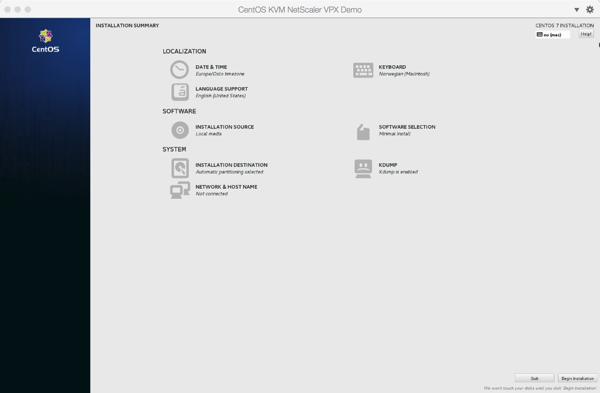
Change the settings you want changed. I’ve changed timezone and keyboard language, and chosen installation destination for my install. Then press “Begin installation”.
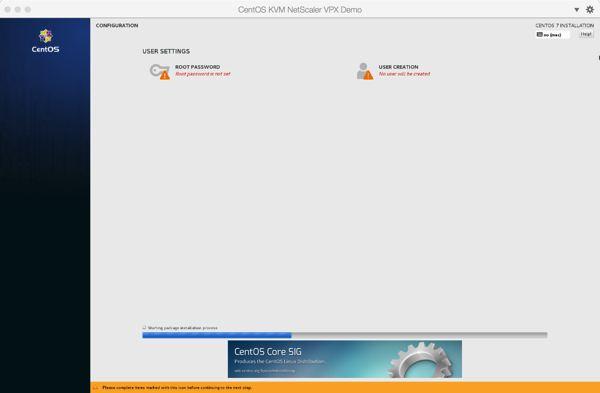
Set a root password of your choice by pressing the “ROOT PASSWORD” text and then wait for the install to finish.
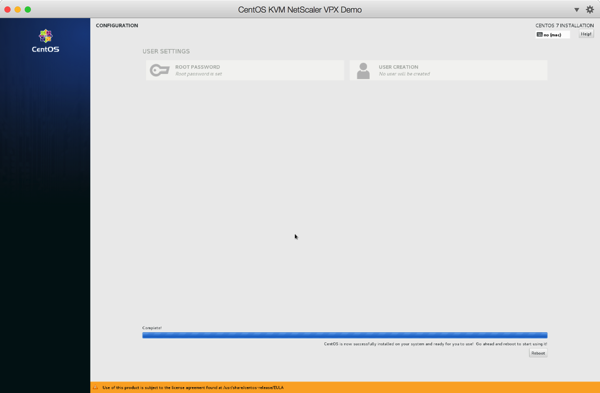
When the installation is finished, just press “Reboot” and wait for the machine to reboot.
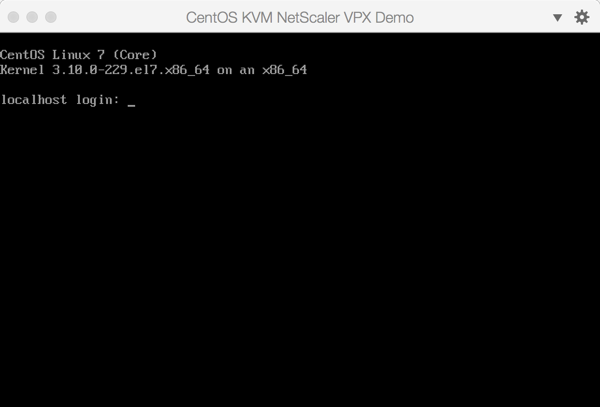
When the machine is finished rebooted, then it should show a login prompt.
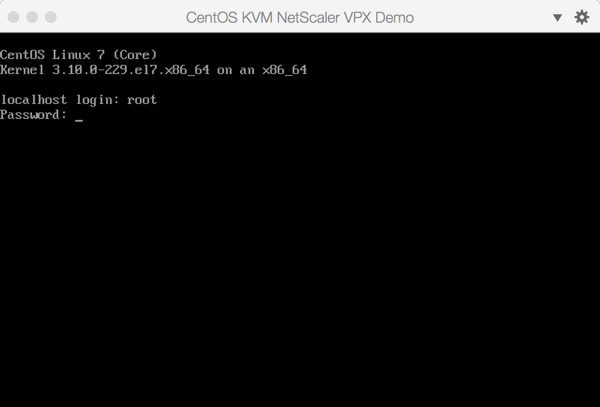
Log in to the machine with the username “root” and the password you previously set.
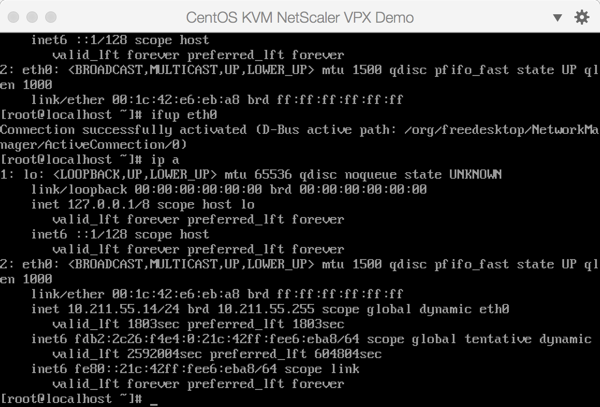
When you’ve logged in then type:
ip aThis will show you the IP address your virtual machine has.
Now using either putty or ssh connect to your IP and log in (I.e. for me it’s “ssh 10.211.55.14 -l root”). Then you can copy and paste these lines in your window. This will setup the required packages and reboot the machine:
echo "net.ipv4.ip_forward = 1" >> /etc/sysctl.d/99-sysctl.conf
sysctl -p

cat << EOF >> /etc/sysconfig/network-scripts/ifcfg-br0
DEVICE="br0"
BOOTPROTO="dhcp"
IPV6INIT="yes"
IPV6_AUTOCONF="yes"
ONBOOT="yes"
TYPE="Bridge"
DELAY="0"
EOF

echo "BRIDGE=br0" >> /etc/sysconfig/network-scripts/ifcfg-eth0

sed -i s/ONBOOT=no/ONBOOT=yes/ /etc/sysconfig/network-scripts/ifcfg-eth0

yum -y install qemu-kvm libvirt libvirt-python libguestfs-tools virt-install virt-manager xauth
systemctl enable libvirtd && systemctl start libvirtd

systemctl restart network

sed -i s/SELINUX=enforcing/SELINUX=disabled/ /etc/sysconfig/selinux

reboot
Now after the virtual machine has booted up again, you can log in once more using ssh. This time add the parameter “-X” (I.e. for me it’s “ssh -X 10.211.55.14 -l root”).
Now copy the earlier downloaded NetScaler VPX image to the virtual machine in the path “/var/lib/libvirt/images/”. I use scp for this, but WinSCP or other utilities may also be used.
scp NSVPX-KVM-11.0-55.20_nc.tgz root@10.211.55.14:/var/lib/libvirt/images/Then uncompress the downloaded file.
cd /var/lib/libvirt/images/
tar xzvf NSVPX-KVM-11.0-55.20_nc.tgz
This should give you an output similar to:
NSVPX-KVM.xml
NSVPX-KVM-11.0-55.20_nc.raw
checksum.txt
Installing NetScaler VPX KVM
Firstly you can just run the command
virt-managerThis will start up the manager in a X window.
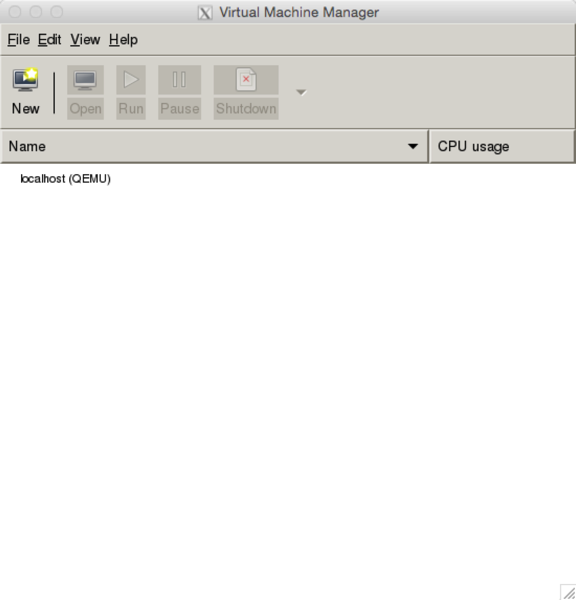
Press new to generate a new KVM virtual machine.
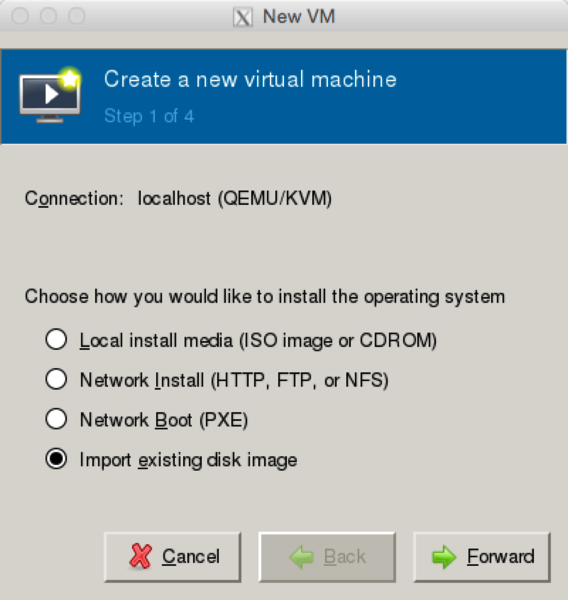
Choose “Import existing disk image” and press “Forward”.
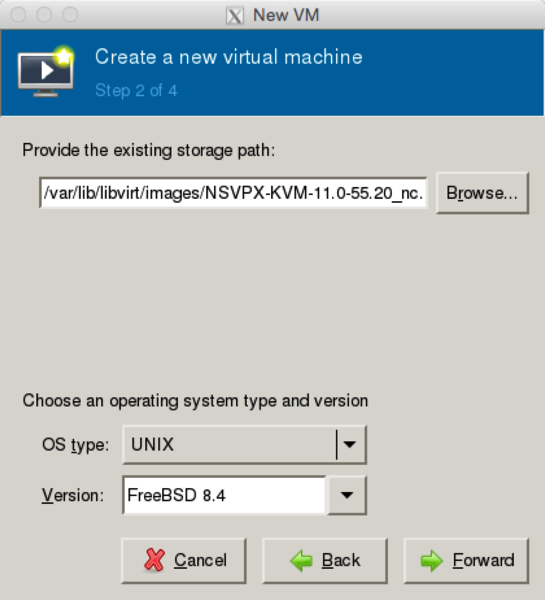
Either enter the path to the “NSVPX*.raw” file or press “Browse” and locate it.
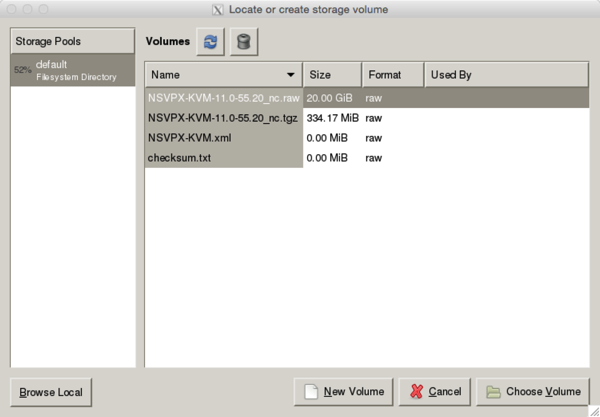
The press “Choose Volume”.
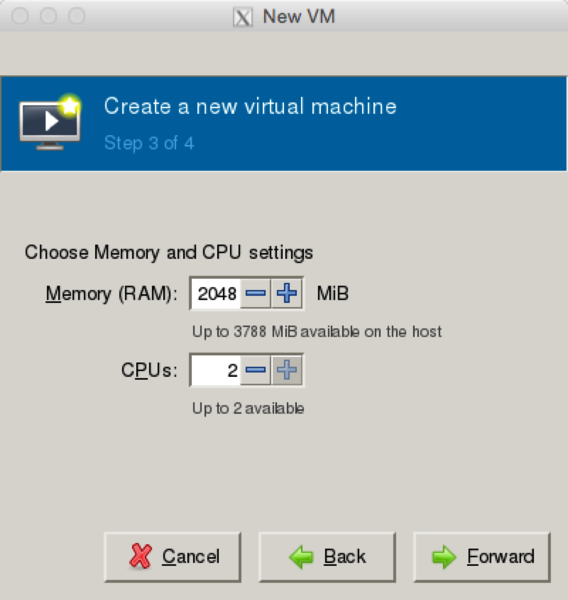
Change “Memory” to at least “2048” and “CPUs” to “2” and the press “Forward”.
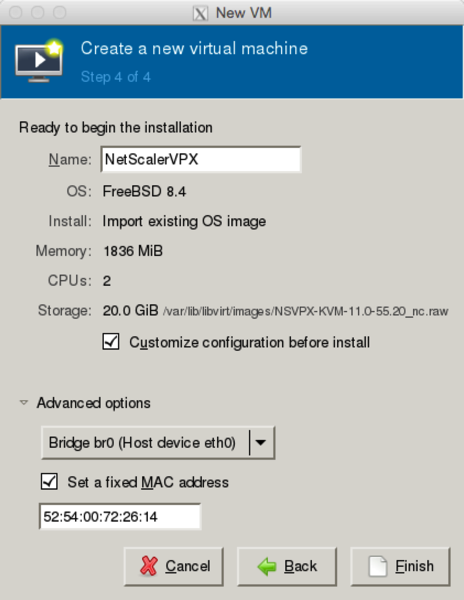 Enter a name for the machine and select “Customize configuration before install”.
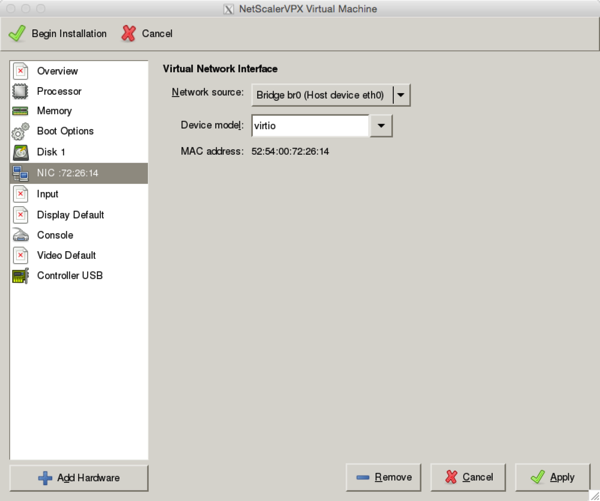
Under NIC, change device model to “virtio” and press “Apply” and then “Begin installation”.
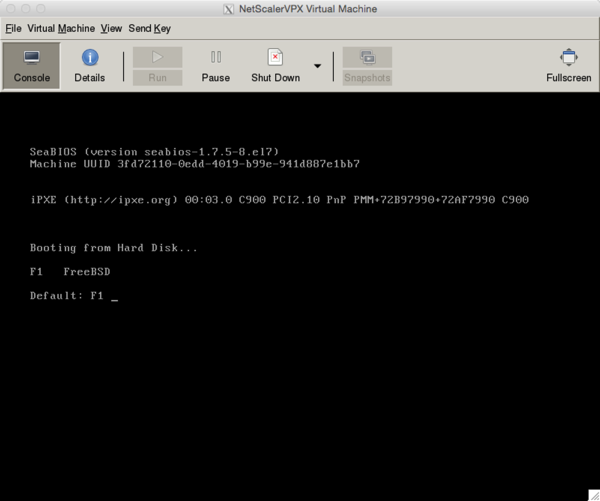
The NetScaler VPX should now start. Just wait until the login prompt appears. Then log in to the NetScaler using the default username of “nsroot” and default passord of “nsroot”. Now you need to set a new IP address on the NetScaler (I’ve used 10.211.55.50 for mine, you need one that matches your virtual machine IP that’s not in use).
set ns config -ipaddress 10.211.55.50 -netmask 255.255.255.0
save ns config
reboot
Now press “Y” and the NetScaler should reboot. When it is backup up again, log in once more. Then change the default route.
add route 0.0.0.0 0.0.0.0 10.211.55.1
save ns config
You should now be able to reach the web GUI by opening http://10.211.55.50/ in your browser.