Installing Oracle VM Server 3.3.1
Dec 10, 2014 · CommentsOracle VM
Pre-requisites
- Download the ISO from Oracle at www.oracle.com.
Installing Oracle VM Server 3.3.1
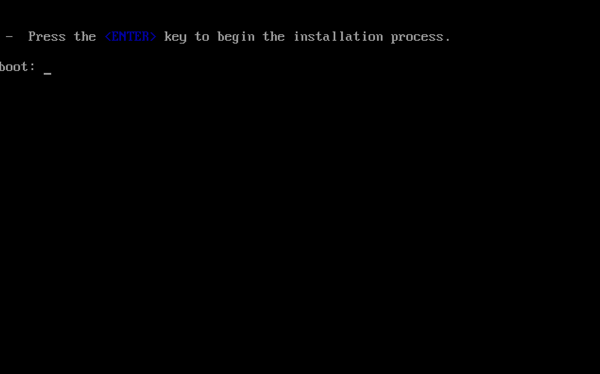
First boot from the ISO on the server on the preferred media. Press enter on the ‘boot:’ prompt to continue.
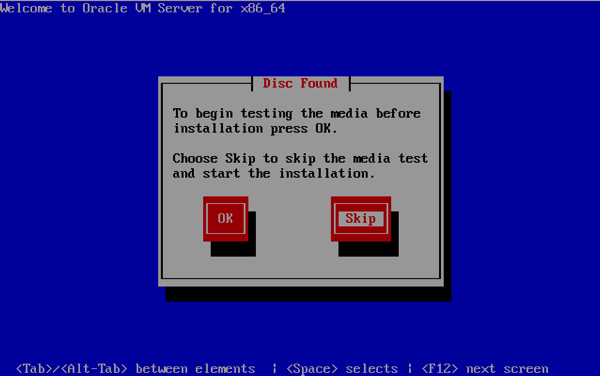
If you trust your media, the just skip the media test.
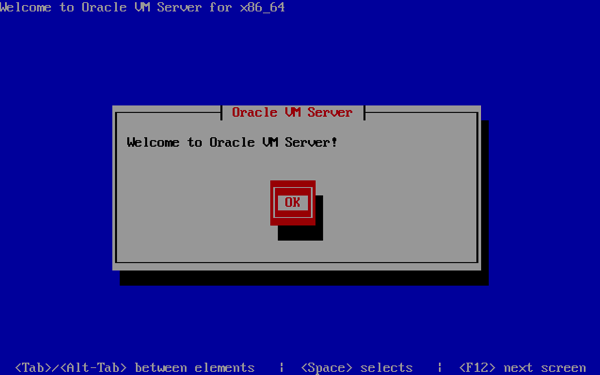
Press ‘OK’ to continue.
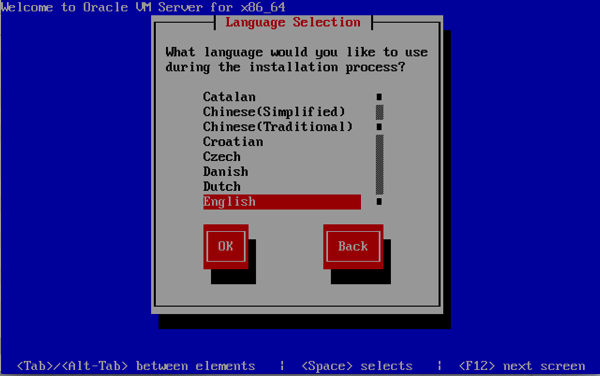
Choose the installer language, the press ‘OK’.
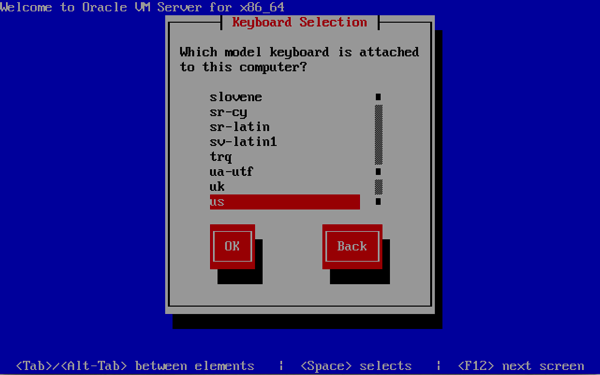
Choose the keyboard language, then press ‘OK’.
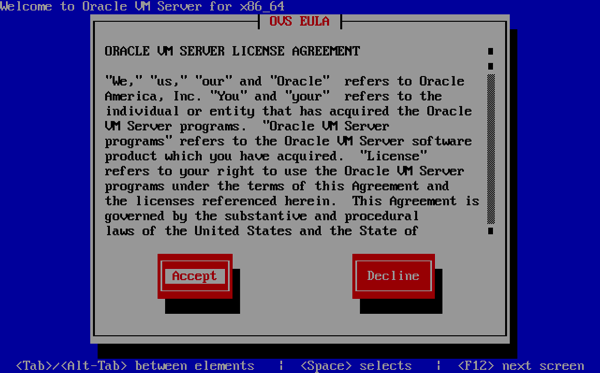
Accept the EULA.
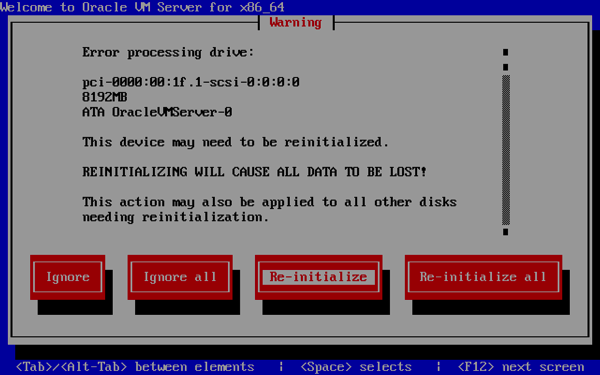
If it gives you an warning on the disk you are going to install the OS on then choose ‘Re-initialize’. NB! If there is SAN disks zoned in to this server you should be careful here and not ‘Re-initialize’ disks that is already in use.
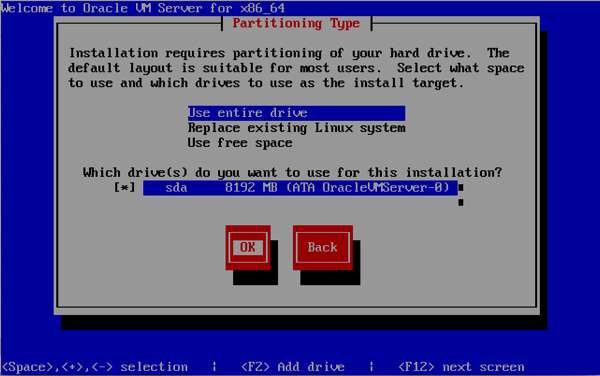
Choose the drives that you will install the OS on.
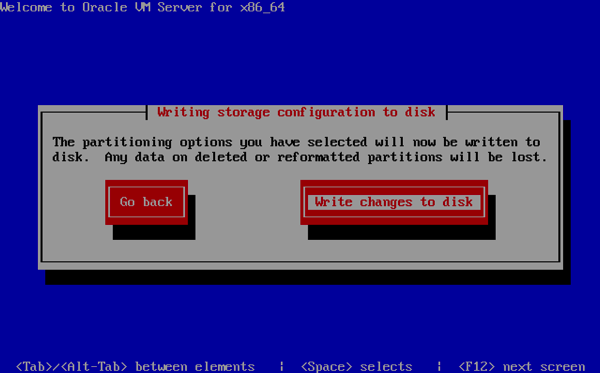
If you’re satisfied with your previous choices, then choose ‘Write changes to disk’.
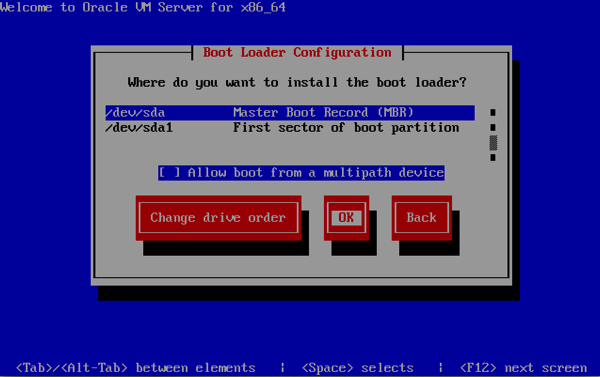
Choose where to install the boot loader. Normally I just choose to use the MBR like the picture. If you’re booting from SAN you should probably check the ‘Allow boot from a multipath device’ option.
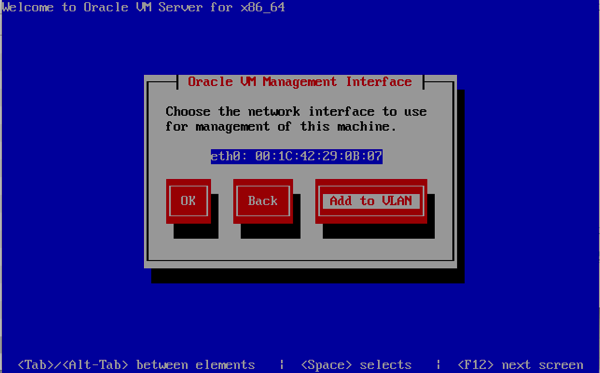
Choose the network interface to use for management. On the server I set this up now I only have one trunk interface, so I’m going for ‘Add to VLAN’ here. If you do not use VLAN then just press ‘OK’.
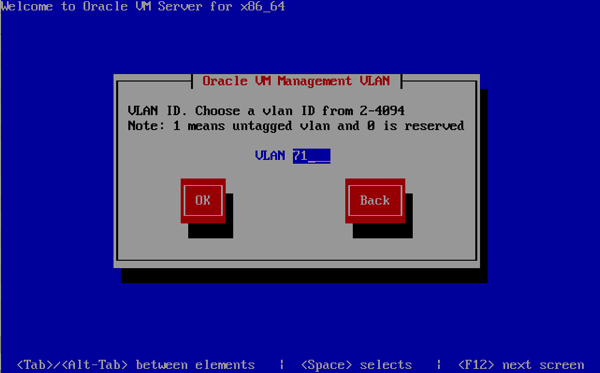
Add your management VLAN if you use it, if not, then skip this.
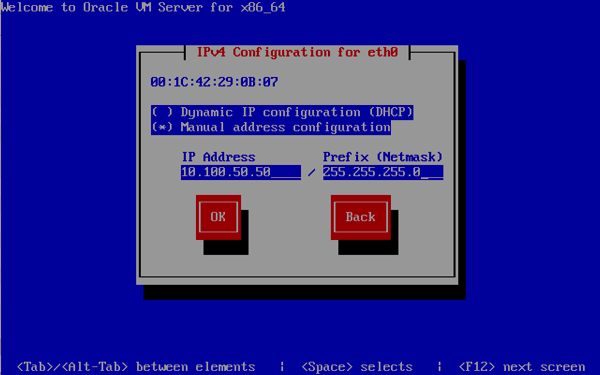
Enter your IP and network mask.
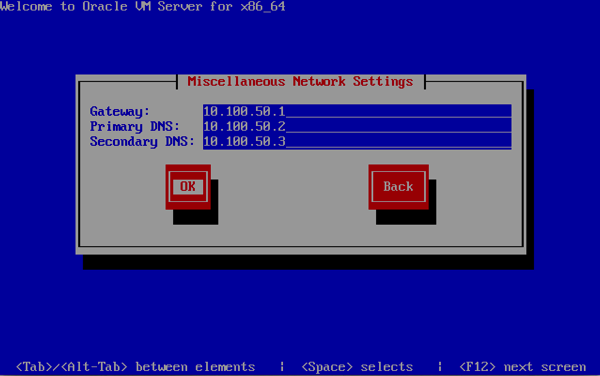
Enter your gateway and DNS IP address.
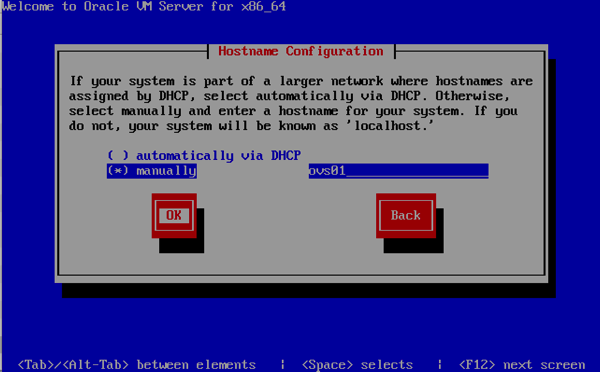
Enter your server name.
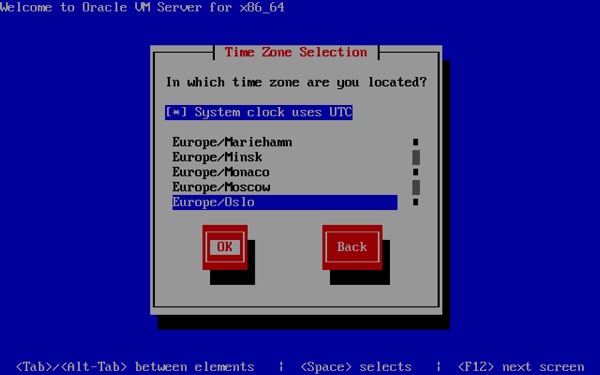
Choose your timezone.
Type in an agent password of your choice that you will later use to register this server to an Oracle VM Manager server.

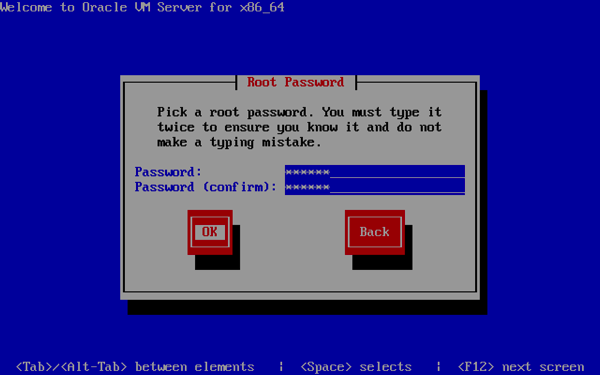
Type in the root password of your choice that you can use to connect to the server with ssh later.
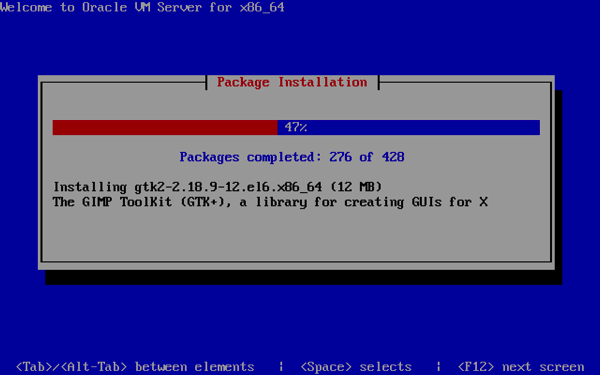
Oracle VM server will now be installed, and this can take a little while depending on the speed of your hardware, so just wait.
The you are finished, so just remove the media if needed and reboot.

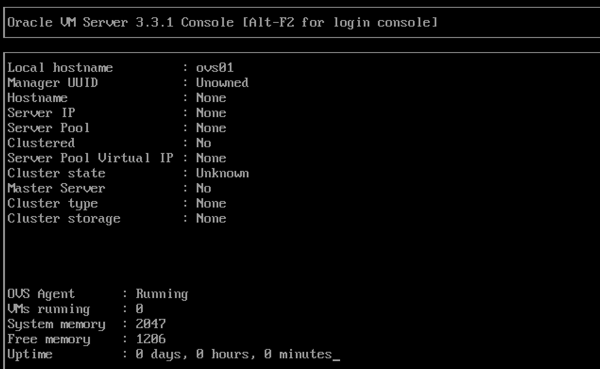
After a reboot this is what console will look like as long as the server is not registered on an Oracle VM Manager server.
Now check out how to install the Oracle VM Manager.